Queue multiple Scenes
You can add all scenes of a single blend file in just a second.
All scenes will be rendered sequentially.
Set up your scenes in Blender
Add as many scenes as you want in your project.
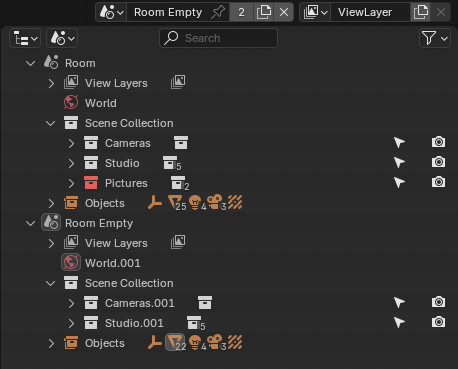
In this example, 2 scenes are being used to create two different versions of the same animation. One empty room, and an other with furnitures.
Tip
Set a dynamic output file path for all scenes by using File Output Wildcards.
Send your project to BRQ
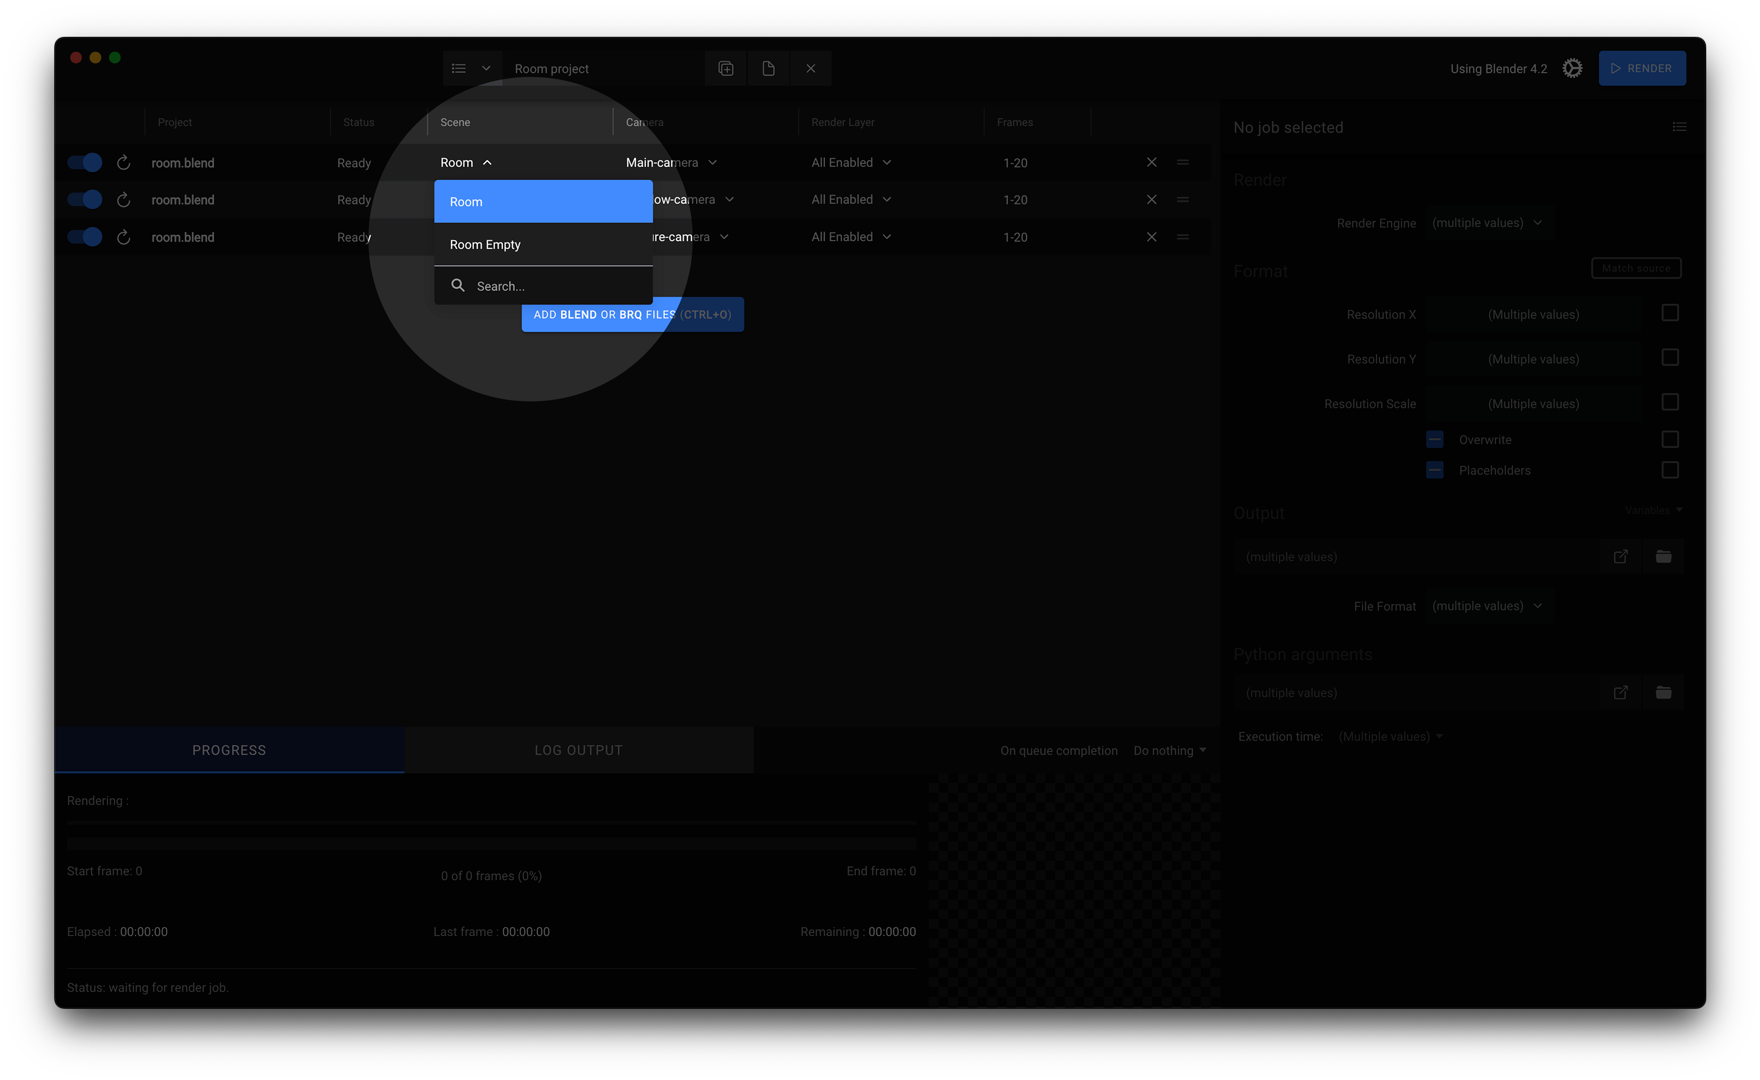
Select your scene in BRQ
Duplicate the render item by using the shortcut Shift-D, then select the scene you want to render.
Or add all scenes with RMB ‣ Queue multiple ‣ All scenes.
The Result
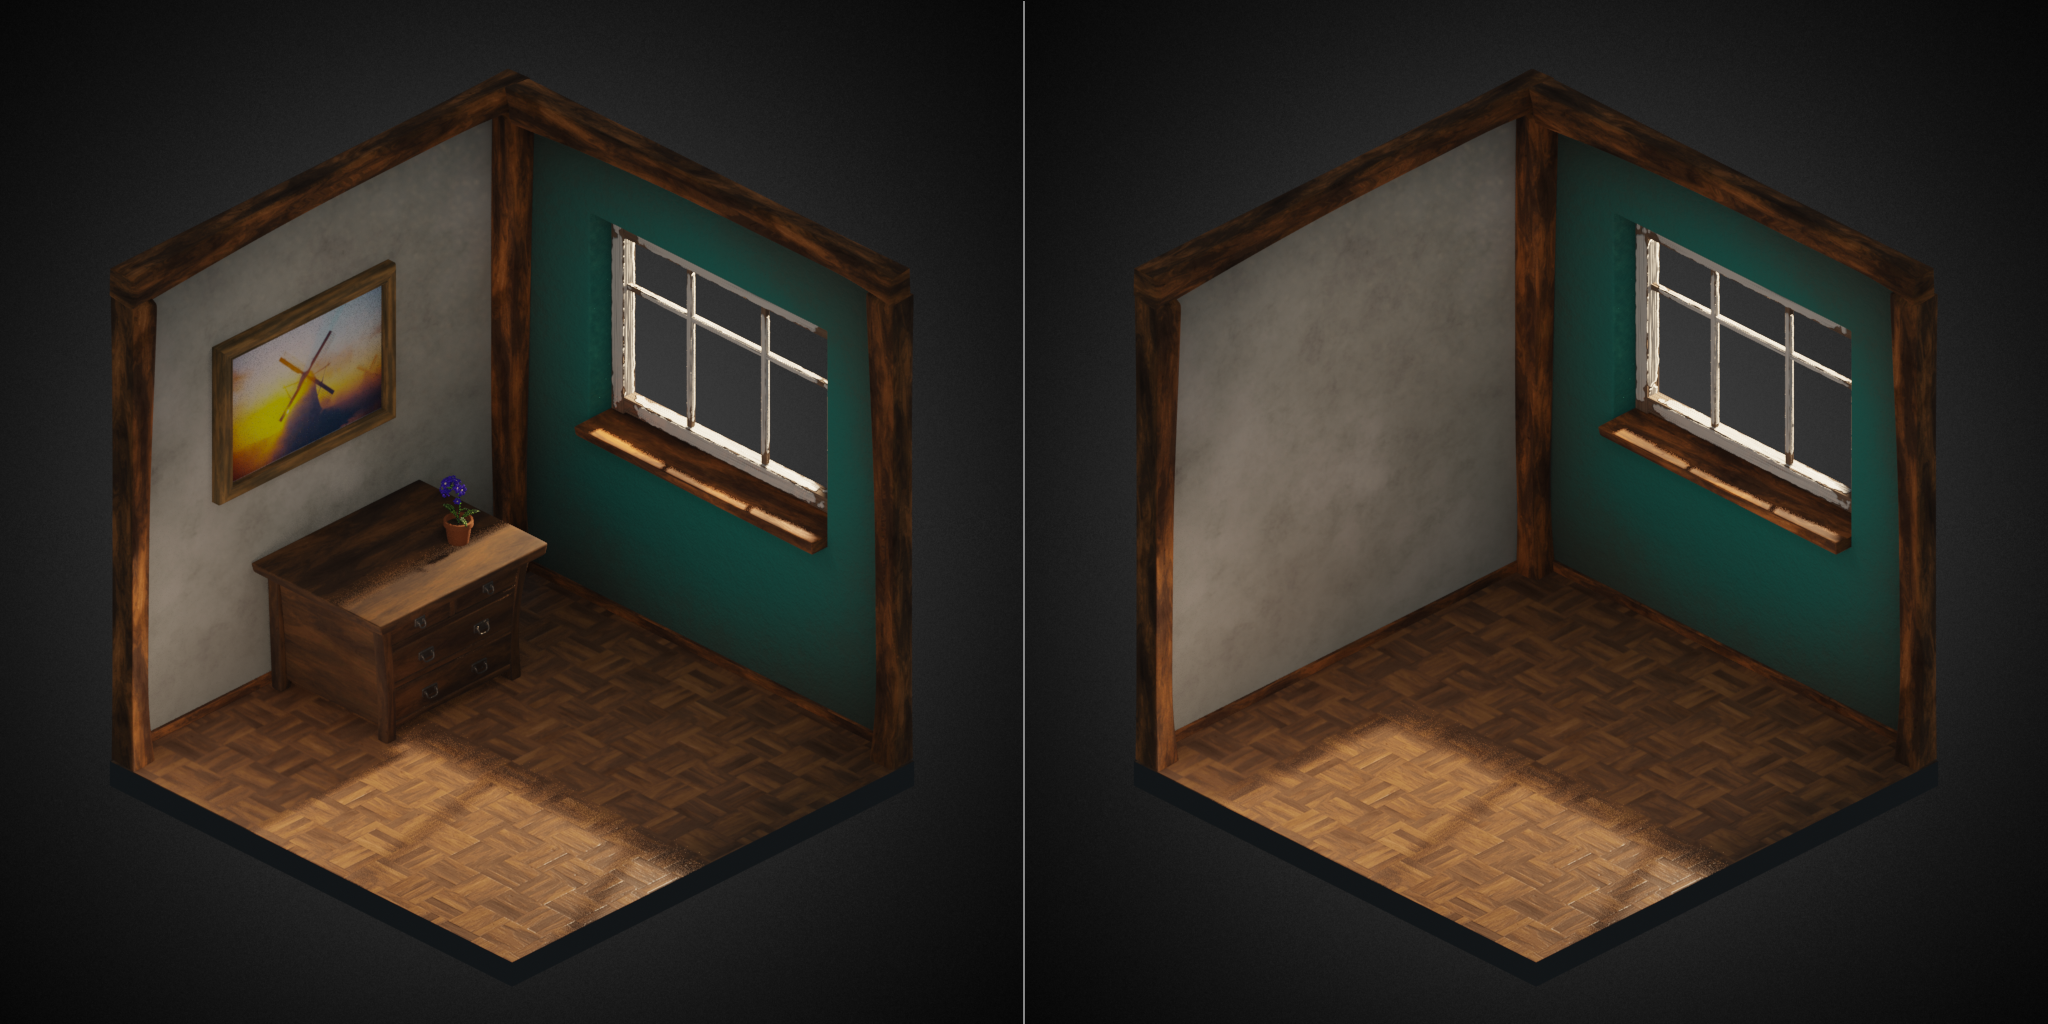
On the left, the saved image for the ``Room Empty`` scene, on the right the ``Room`` scene with furnitures.