Add Blender projects to the queue
Note
BRQ will always use the .blend file you originnaly added to the queue. No copy will be done, this means that if you modify your project in Blender after adding it the queue and you hit RENDER the modified file will be used.
How to add Blender projects
Drag & Drop you .blend files directly in the BRQ window
If using the BRQ Add-On, in Blender add the currently opened project by click on
Render ‣ Add to Blender Render QueueUse the shortcut
Ctrl-O / ⌘-O
Tip
MacOs users can use the main menu bar and navigate to File ‣ Open
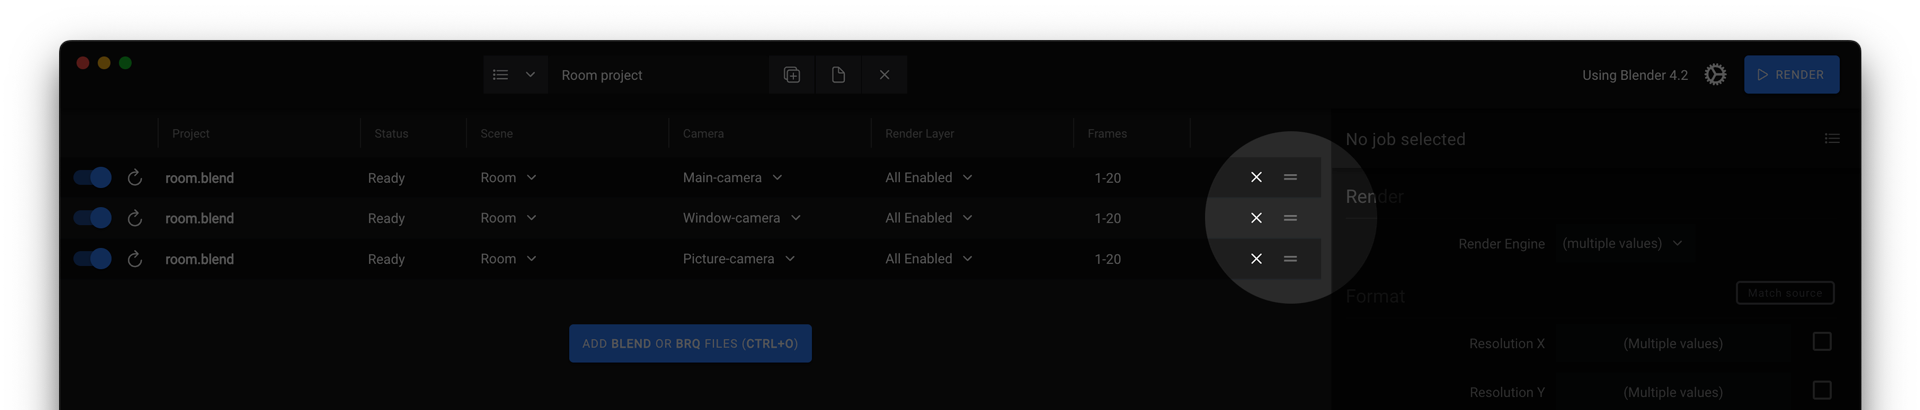
Items field description
- File name
The blend file name
Tip
Click it to reveal the file in the explorer
- Status
A message indicating if the item is pending, rendering, done or has failed
Tip
Click the status message to reveal the rendered file in the explorer
- Scene
Select the scene you want to use
- Camera
Select the camera you want to render
- View Layer
Select the view layer you want to render, leave it to default value to respect Blender settings
- Range
The frame range to render out.
- Examples:
Range: 1-20
Single frame: 5
Specific frames: 1,25,89
Every 10 frames: 10th
10 frames evenly distributed: 10f
Reorder your items
Items in the queue will be rendered sequentially from the top one to the bottom one, skipping those disabled whith the toggle button. You can reorder items in the queue by using the handle at the right of each items.
Context menu
Right click an item to show the context menu and get access to all features.
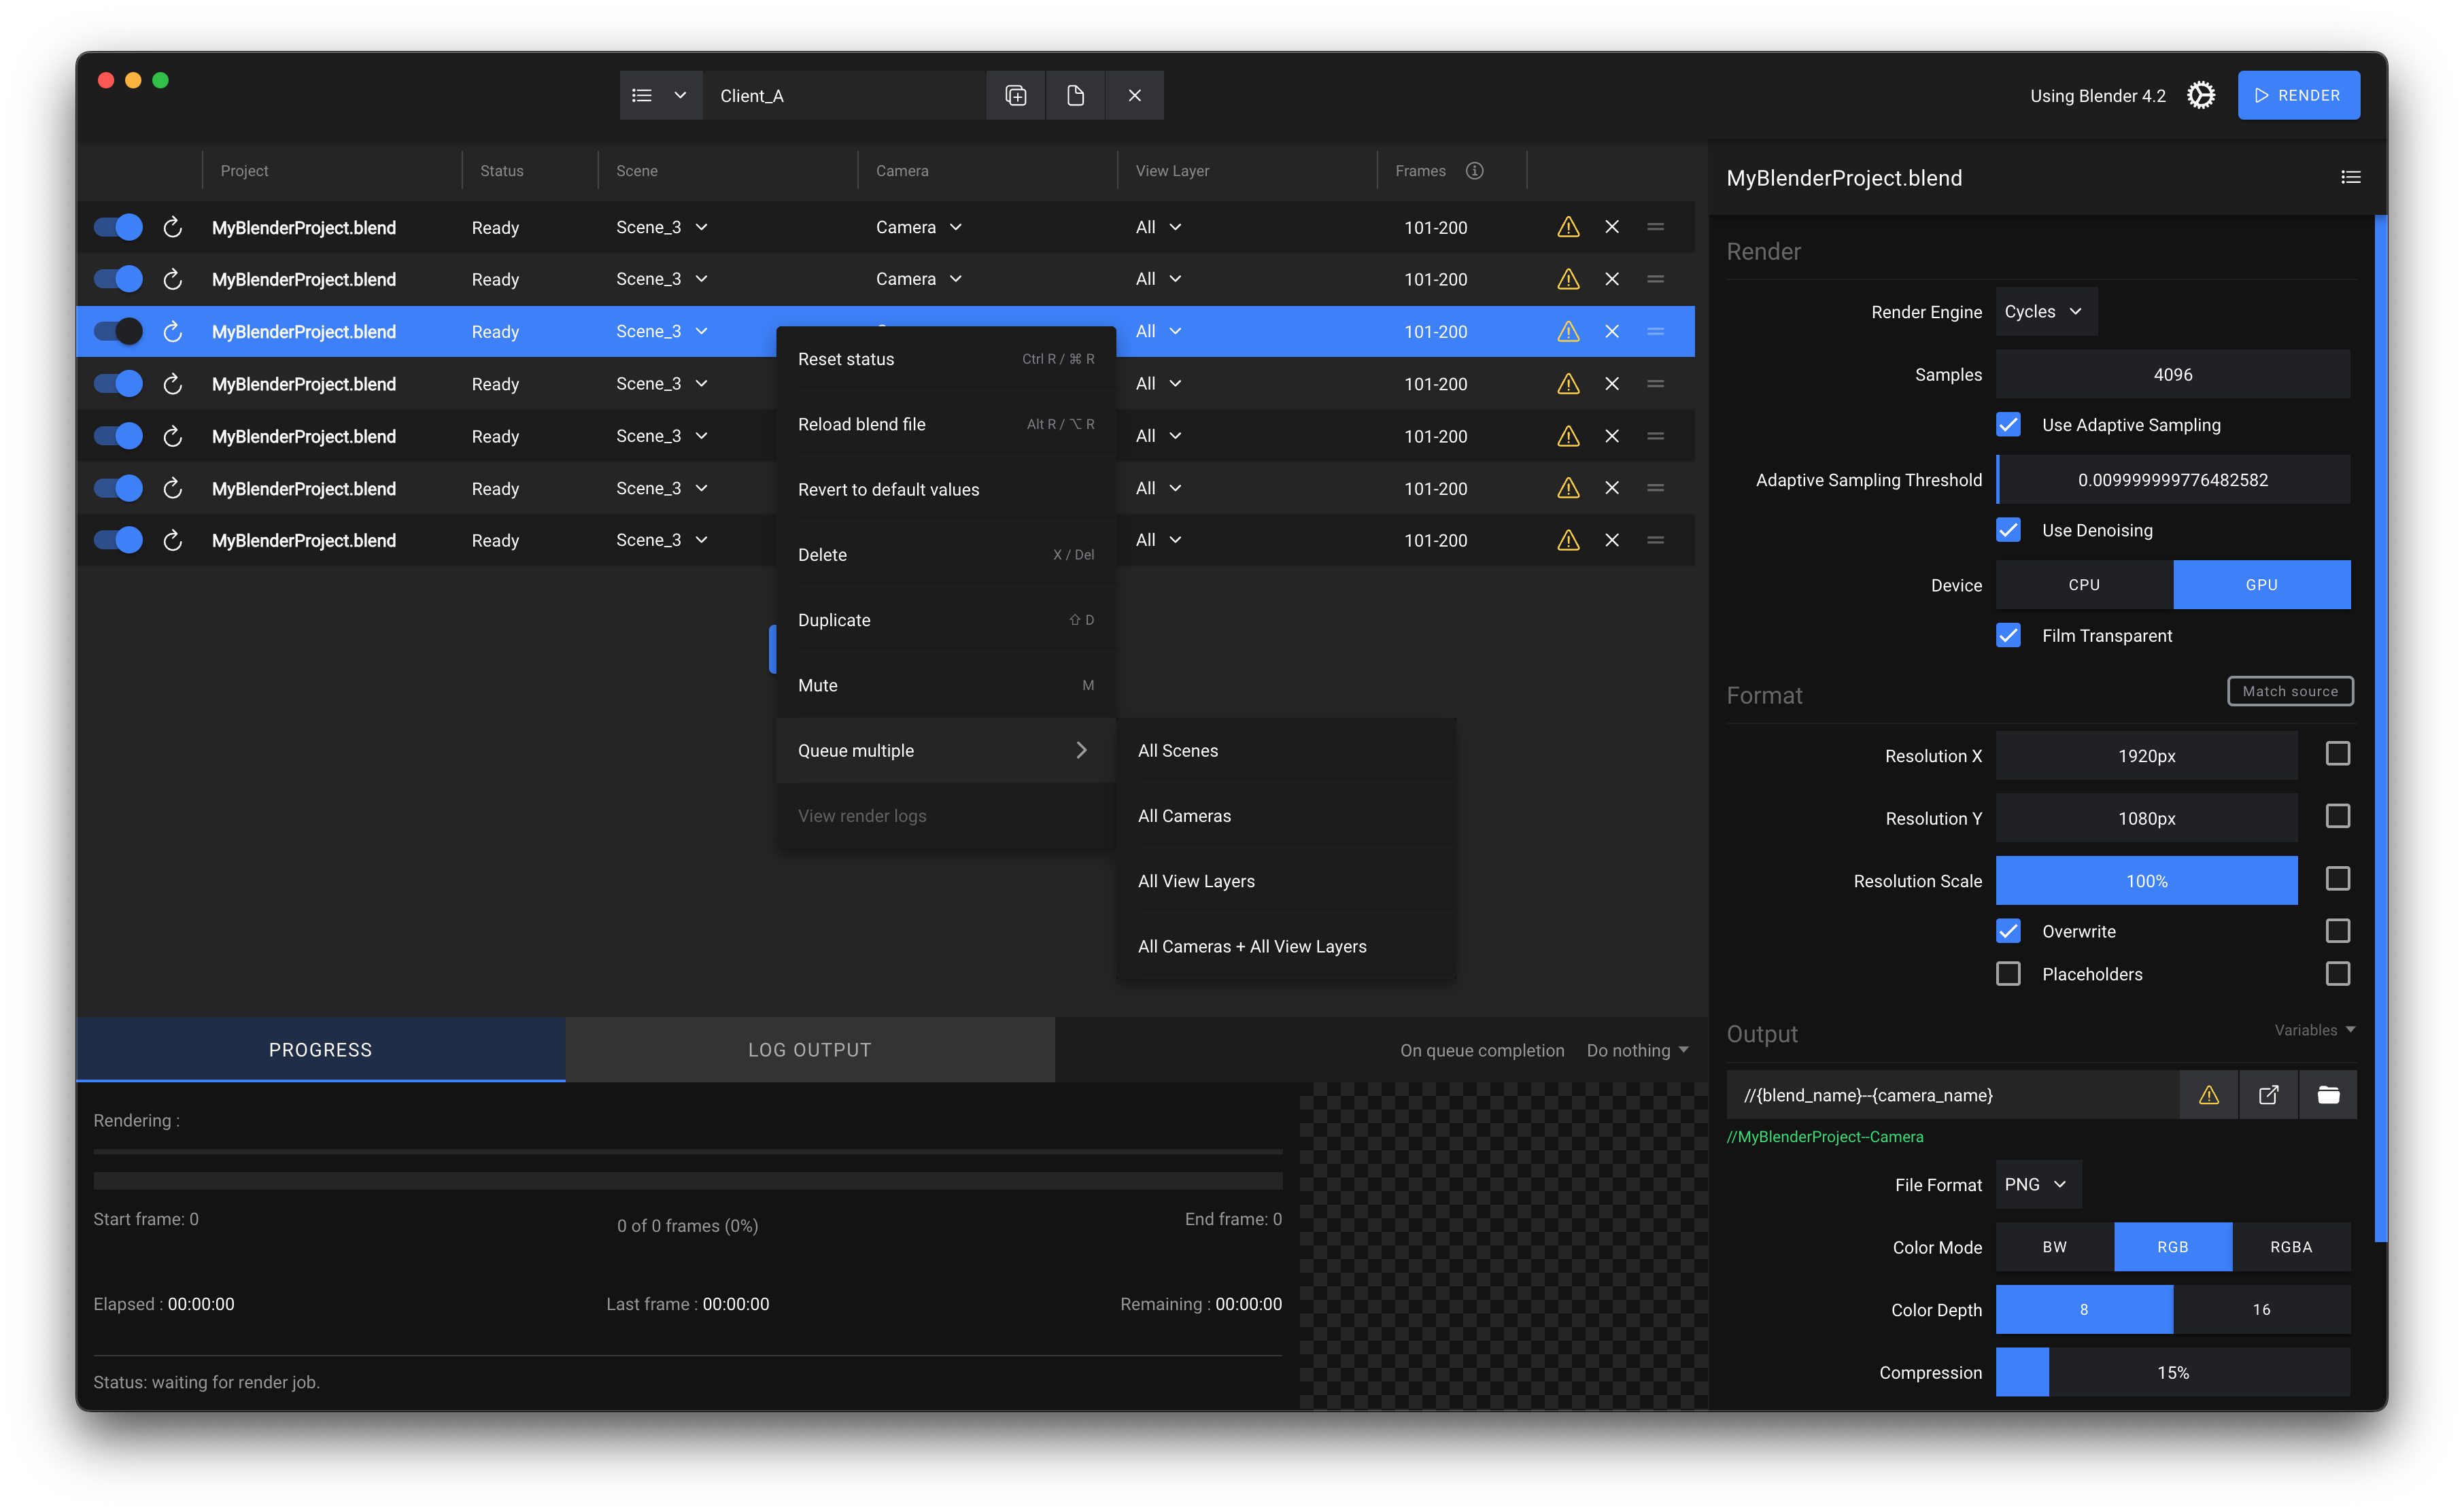
Look at Output Settings
Selecting an item in the queue displays all its render options in a static panel on the right side of the interface.
The panel gives you direct access to:
Engine
Format (file format, color depth, transparency, etc.)
Output File (path and template variables)
Custom Python Expression (Run a custom script before/after rendering)
Tip
Clicking the output path lets you specify another location. This path is used only by BRQ and is not written back to your .blend file.
